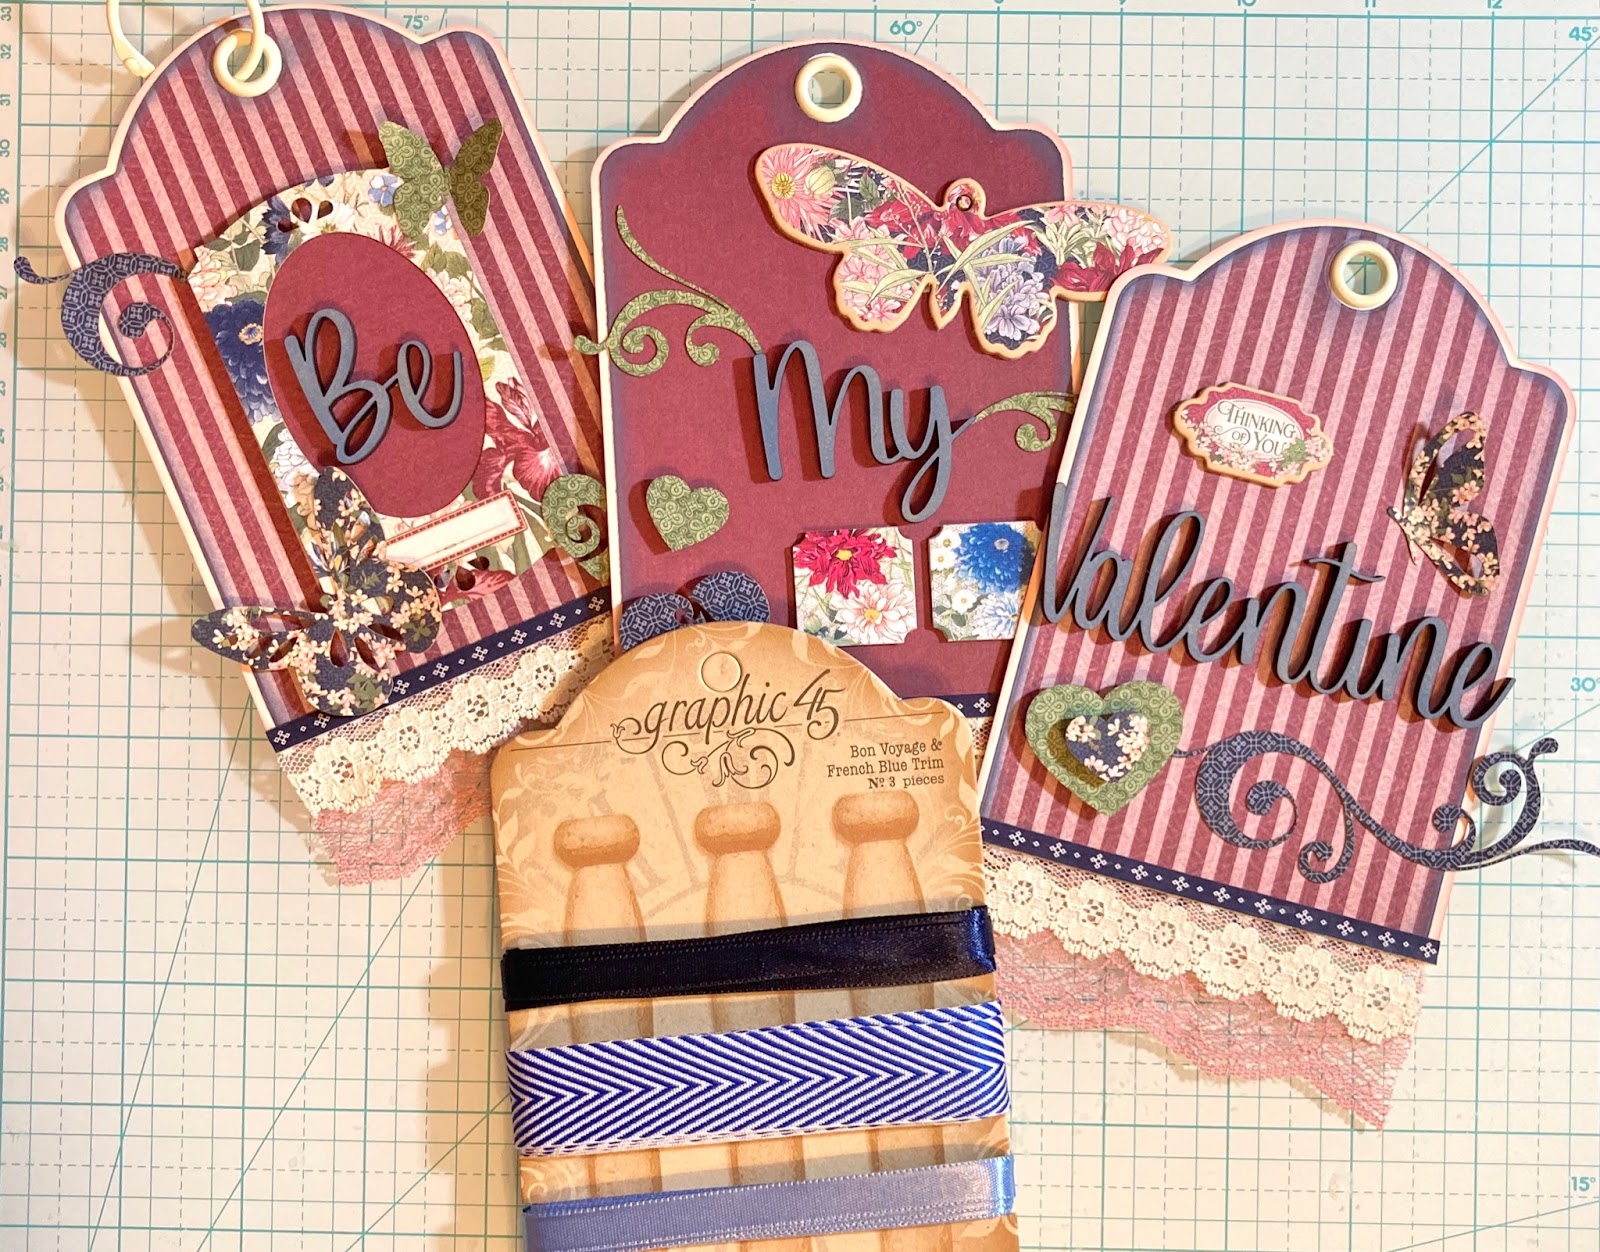
Create your own Valentine Wall Hanging in just a few simple steps. This step-by-step tutorial has been created for us by Graphic 45 Brand Ambassador, Kristine Woods. Kristine has used our Blossom paper collection(now 50% off while supplies last), Navy Trim, and our Regular Tags to create this masterpiece. What will you use to create your DIY banner? Be sure to scroll to the end to see Kristine matching Paper Mailbox.
“Hi crafty friends. With Valentine’s Day right around the corner, I wanted to share a fun project tutorial on how to make a gorgeous wall hanging. The fabulous floral images in the Blossom collection are perfect for a non-traditional Valentine color scheme. The best part about this project is that you can easily use the tags as Valentine cards, too!
Blossom Patterns and Solids Paper Pad
Blossom Journaling and Ephemera Cards
Bon Voyage and French Blue Trim
Flower Assortment – Shades of Ivory
Flower Assortment – Shades of Blue
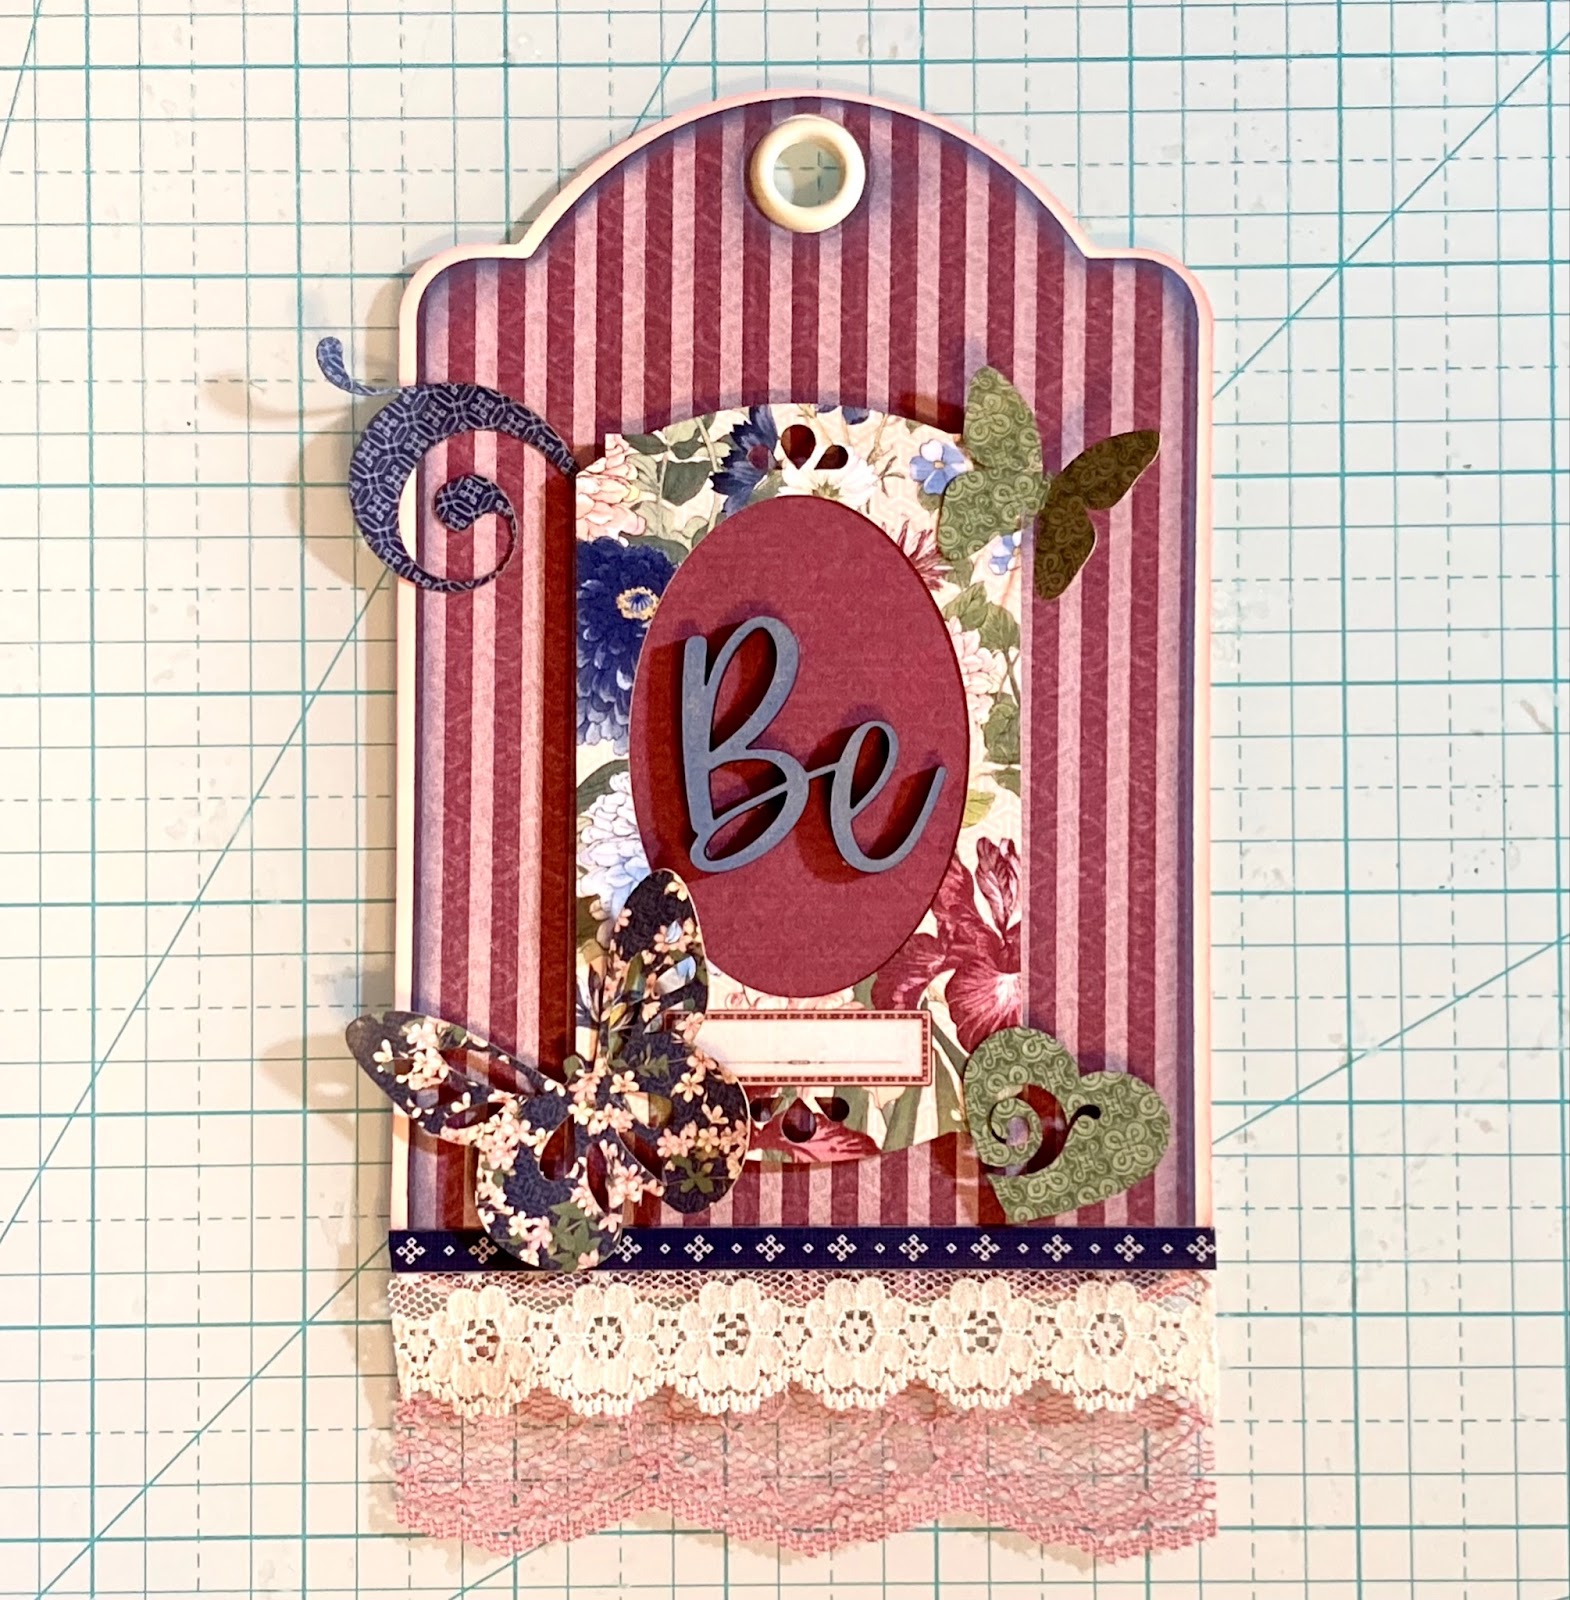
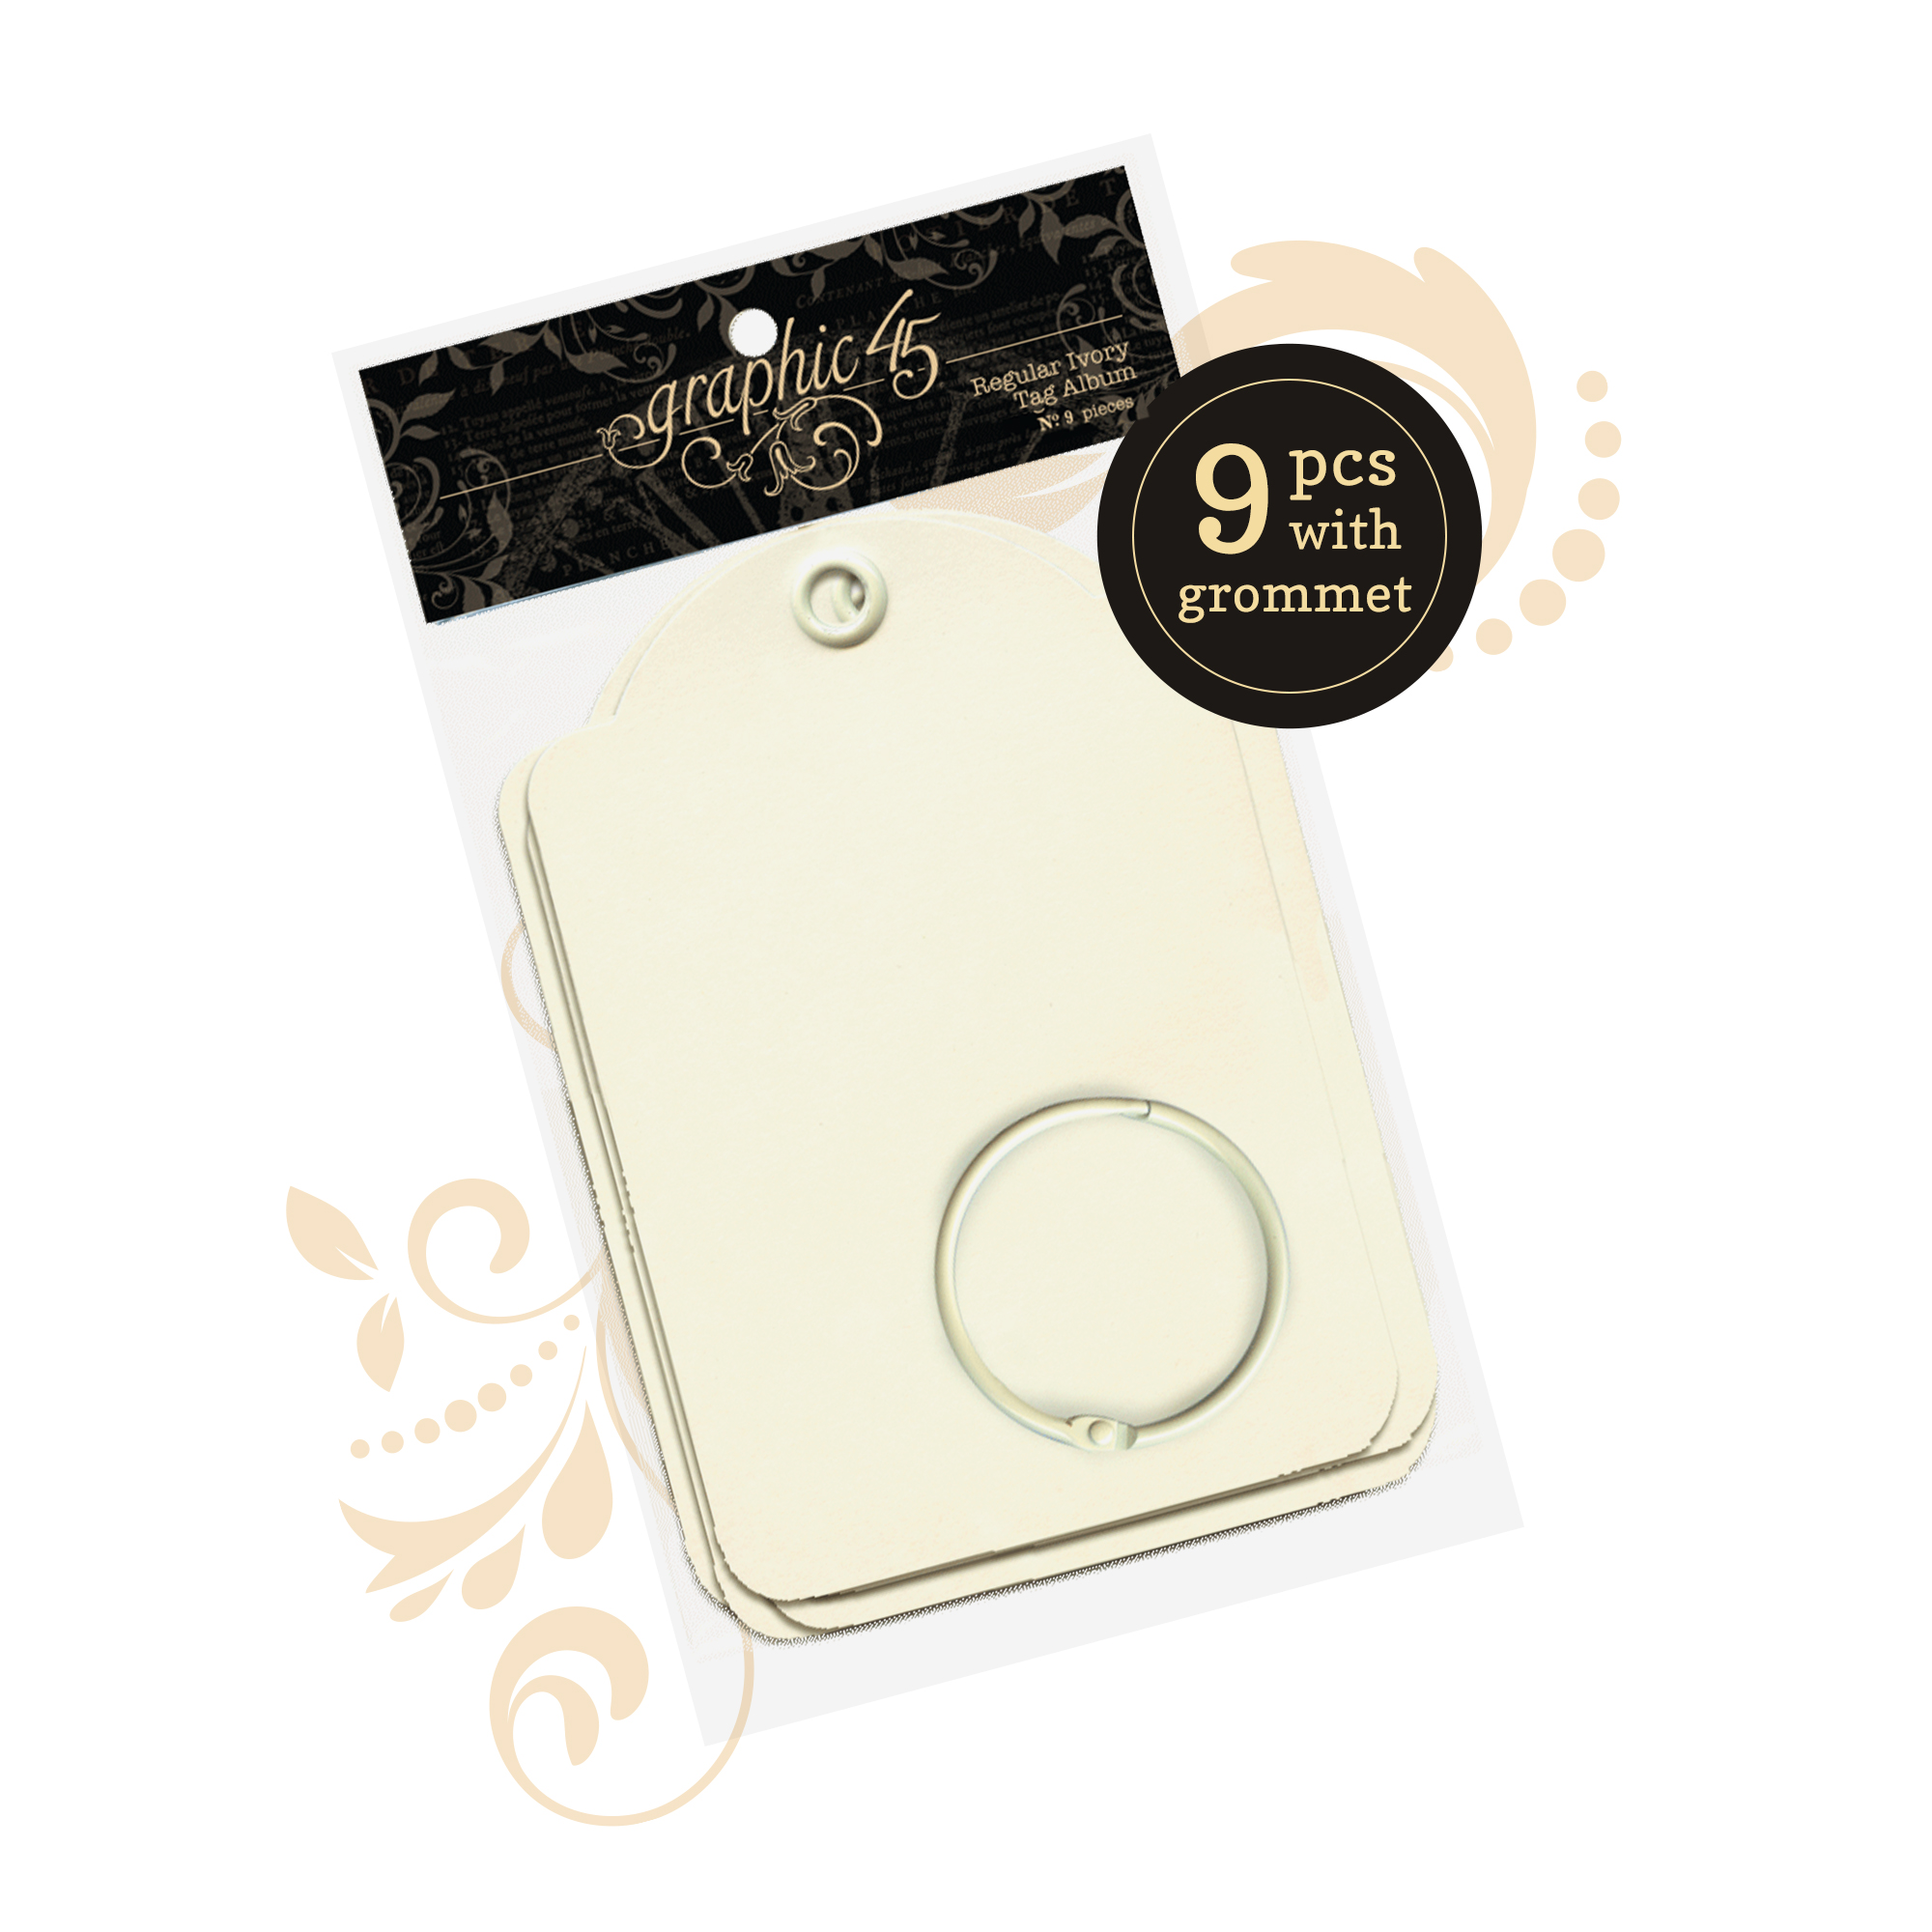
Use the metal tag die to cut 3 pieces from the burgundy Patterns and Solids for the base of the tags. I will use one solid and two striped tags. I used blue distress ink on the edges of my papers.
Ink the edges of three Ivory tags. I chose pink ink rather than using the same blue ink as the papers.
Next, I glued the papers to the tags and added two pieces of lace to the bottom edge of my tag. I cut a piece of the blue border sticker from the Collection Pack to place over the top edge of the lace.
I selected the frame piece from the Die Cut Assortment and added a piece of burgundy solid paper to the middle. Then I placed my wooden “Be” piece in the middle. I used blue distress ink to color my wooden pieces.
Add foam squares to the back of the piece to give it dimension on the tag. Adhere to the center of the tag. Then, select two butterflies, the flourish, and one heart from the Die Cut Assortment. Glue the pieces to the top of the frame. Fold the butterfly wings up slightly to give them dimension, and use foam squares under any pieces not supported by the frame.
The second tag will be decorated with the butterfly chipboard piece and two stickers in the Collection Pack. I added chipboard to the back of my stickers to give them dimension. I also used two flourishes and two hearts from the Die Cut Assortment. Start by placing the “My” sentiment in the center of the tag. Then, add the flourishes and butterfly chipboard. Use foam squares to adhere the hearts to the tag front. Then, add the stickers.
Add the “Valentine” sentiment to the center of the tag. Then, add the blue flourish to the right side. Stack the heart Die Cut pieces on top of each other with a foam square and add to the bottom of the tag. Add the butterfly die cut and chipboard piece to the top of the tag.
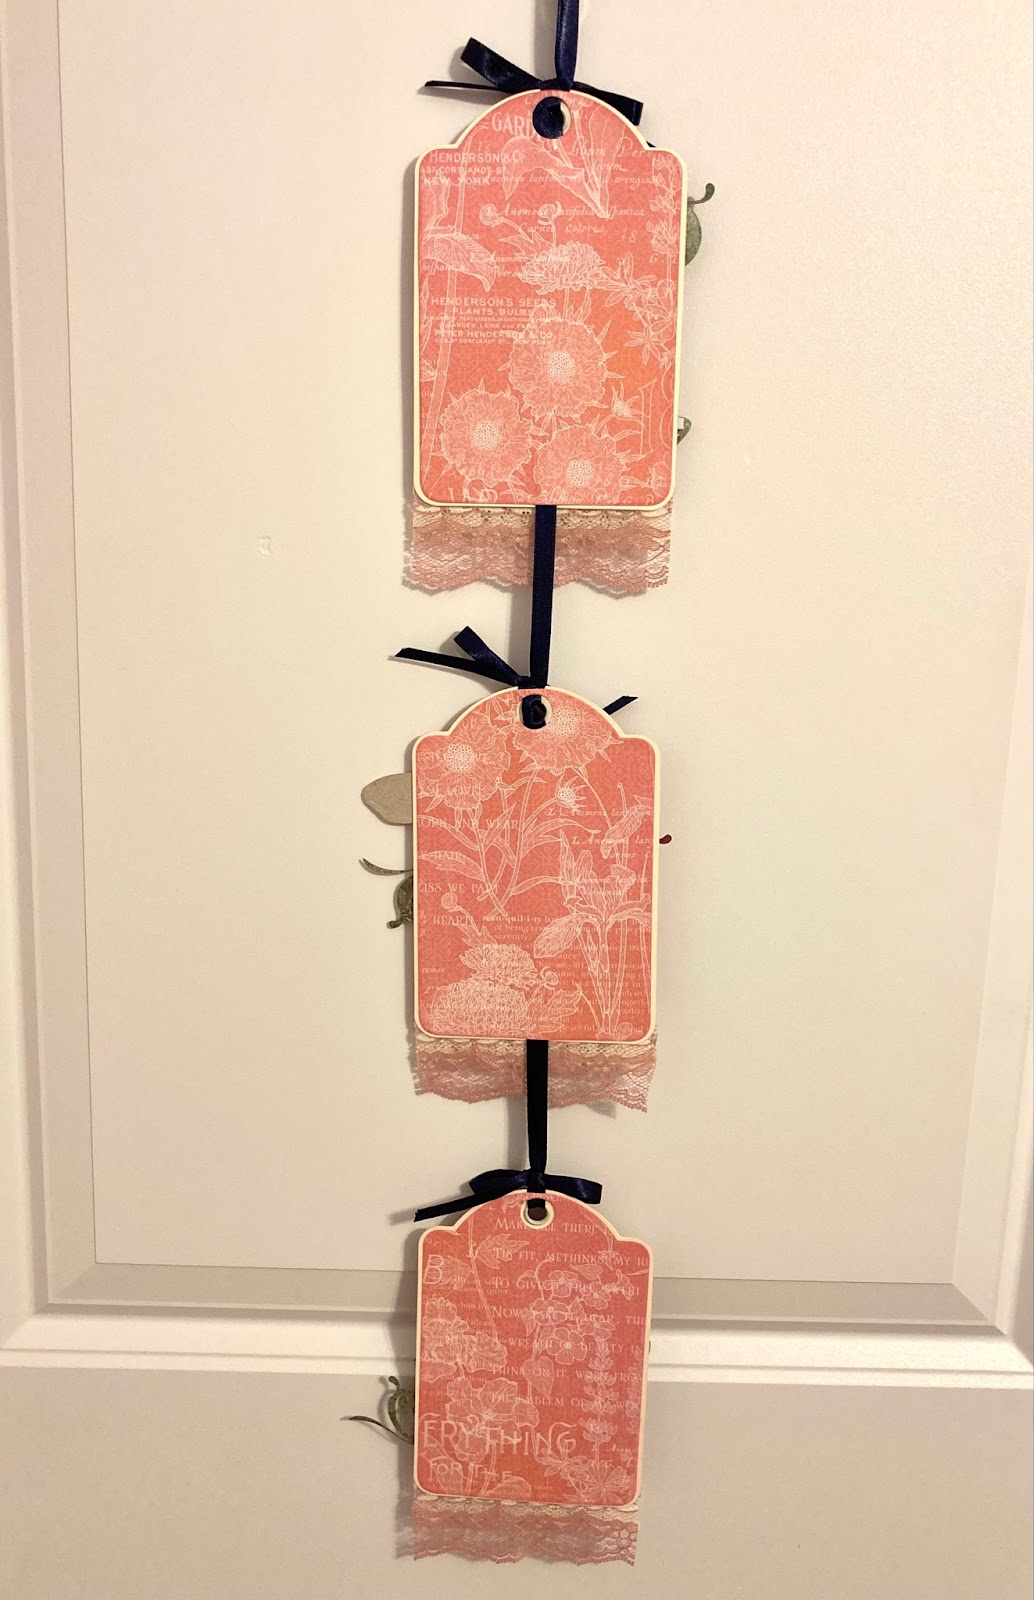
To assemble the tags into a wall hanging, I will be using the navy ribbon. You will need to cut the ribbon to approximately 43 inches in length for the same look as my wall hanging.
First, fold the ribbon in half and add the bottom “Valentine” tag to the ribbon so that the eyelet is in the middle of the ribbon. Make sure the ribbon lays flat. Then, cut another piece of ribbon to approximately 12 inches. Place the ribbon down through the eyelet on the tag, and make sure this piece is on the bottom of the other two pieces of ribbon. When you tie a bow, it will “lock” the tag in place on the hanging ribbon.
Next, add the second “My” tag on the ribbon. I left approximately 3 inches from the bottom edge of the tag (not counting the lace) to the top edge of the previous tag. Repeat the step above using another 12 inch section of ribbon to secure the second tag. Then, add the “Be” tag in the same way.
Use the metal tag die to cut three pieces of Patterns and Solids for the backsides. Flip the tags over. Starting with the bottom tag, flatten both pieces of ribbon in the center of the tag. Use wet adhesive or tape to secure the ribbons to the tag base.
Add the die cut tag to cover the back. Repeat with the other two tags.
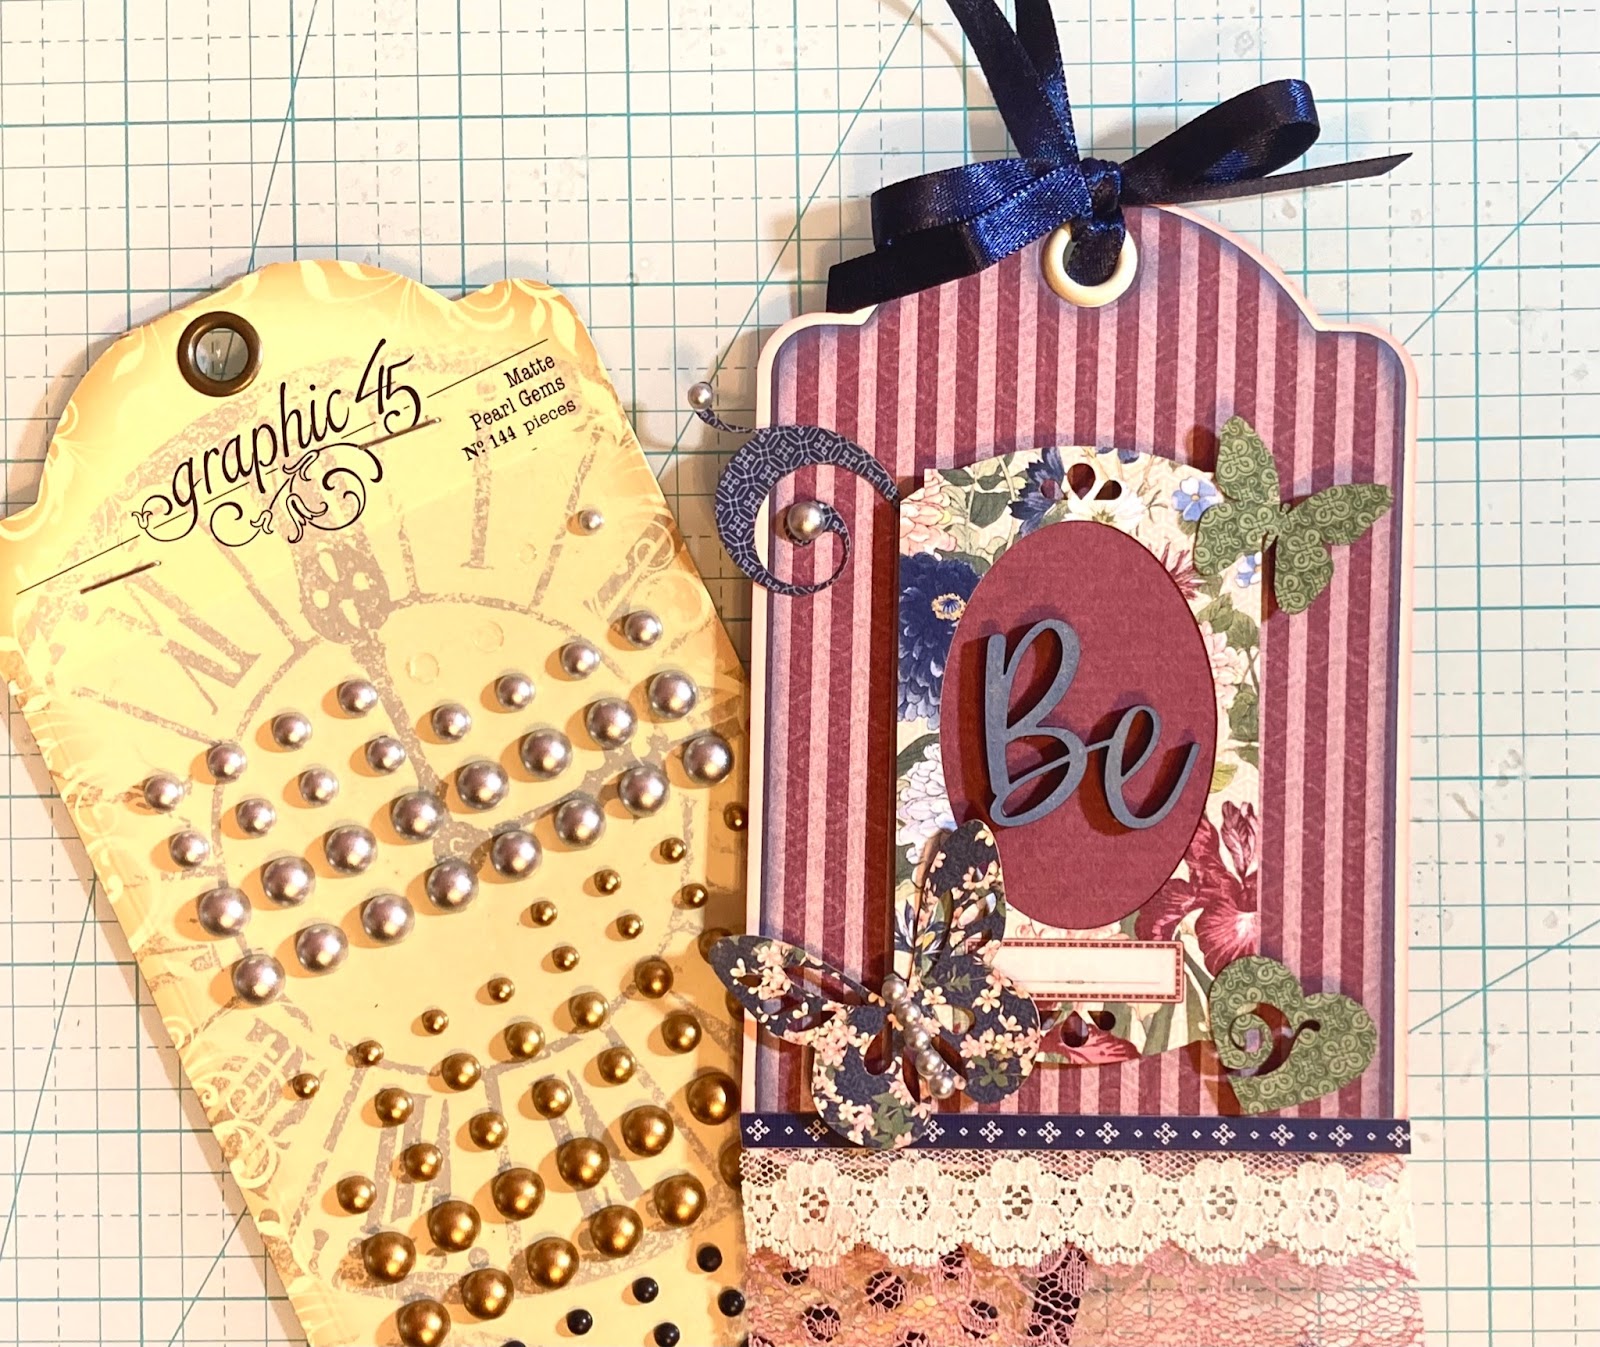
Next, we will add some additional details to the front of the tags. First, add some of the Matte Pearl Gems to the front of the tags. I am adding the silver pearls to the flourishes and the center of the butterfly.
Select pieces from the blue and ivory flower assortment and create three layered flowers. One flower will be placed on each tag.
I made matching flowers for the first and third tags, but the middle tag will have a slightly different flower. Place a silver pearl in the center of each flower.
I had so much fun with my Blossom papers making this wall hanging, that I had to create one other home decor project for Valentine’s Day. This cute little mailbox could be used all year long.
I hope you have found this tutorial helpful, and that you will use your Graphic 45 papers to make a wall hanging for yourself. If you don’t have the Blossom collection, try using another collection. I bet the new Alice’s Tea Party would make an adorable wall hanging!” ~Kristine
Alice’s Tea Party by Graphic 45 Collection Reveal
Want even more Graphic 45? Sign up for our newsletter here!